
How to Make a Sourdough Starter From Scratch
- Piece of Cake Staff

- Aug 2, 2025
- 5 min read
Written by Shawn Krajewski
Sourdough is one of life's greatest delicacies. It's one of my favorite types of bread, and like the lemon cookies I've talked about before, it holds a very special place in my heart. However, whether it's feeding it too often or being overly specific about what they're feeding it, people tend to overcomplicate their sourdough starter. The starter is a unique part of sourdough, and it gives the bread its trademark sour flavor. Whether it's feeding it too often or being overly specific about what they're feeding it, starters are very forgiving in how you treat them; all you need to do is follow a few simple rules to keep it alive and thriving. Remember: it's essentially a living creature you’re caring for, so you can bake it once it's had enough to grow. (It's a bit morbid, I know, but that's part of breadmaking.) And like all living things, we don't need much to keep us alive either. Keep reading for a complete sourdough starter recipe!
Full Recipe:
Equipment:
1 bowl
1 small pot with a lid
1 large spoon
Ingredients:
Bread or all-purpose flour
Whole wheat flour
Water
1. Establishing:
Beginning to make a sourdough starter is quite simple, as long as you follow the central rules of equal parts flour to water and equal parts white flour (bread or AP) to whole wheat flour. Keep in mind, these should be equal parts in grams, not cups.* Water is significantly denser than flour, so it takes up less space while weighing the same. But what does that mean, and how do you start?
First, grab a large bowl. (I typically go with 200 g water, 100 g AP, and 100 g bread flour; however, the exact quantities depend on how much you want to make.) Before you start mixing, make sure you do not wash your hands. I'm serious. I know it sounds crazy and like an active violation of food safety, but it's important. Bread is centered around an organism called yeast. Most of the time, it is cultured and farmed yeast. However, there is yeast everywhere. In the air, on the counter, and yes, on your hands. This is the yeast we will be using for this recipe, so don't wash your hands.
Just so you're less suspicious of me, let me explain. You won't get anything harmful into the dough because all particles are burned when cooked—if they even survive that long. Most dangerous microorganisms can't live outside a living organism (which is why they're harmful), meaning the roughly 2-week process of making the bread will end up killing any old particles.
Rant aside, let's get back to the recipe. Add the water and flour, and mix them with your hands. Once homogenized, place the contents of the bowl into your pot. This will be its home for the rest of its life. Cap with the lid, and place the pot in a room temperature environment. I recommend by a windowsill or on a shelf. It shouldn't be too hot, or it will die, and it shouldn't be so cold that it falls asleep. Additionally, you don't want it to be too wet or dry, so you can more effectively control the growth. Overall, you want the starter to be in an environment that encourages it to grow.
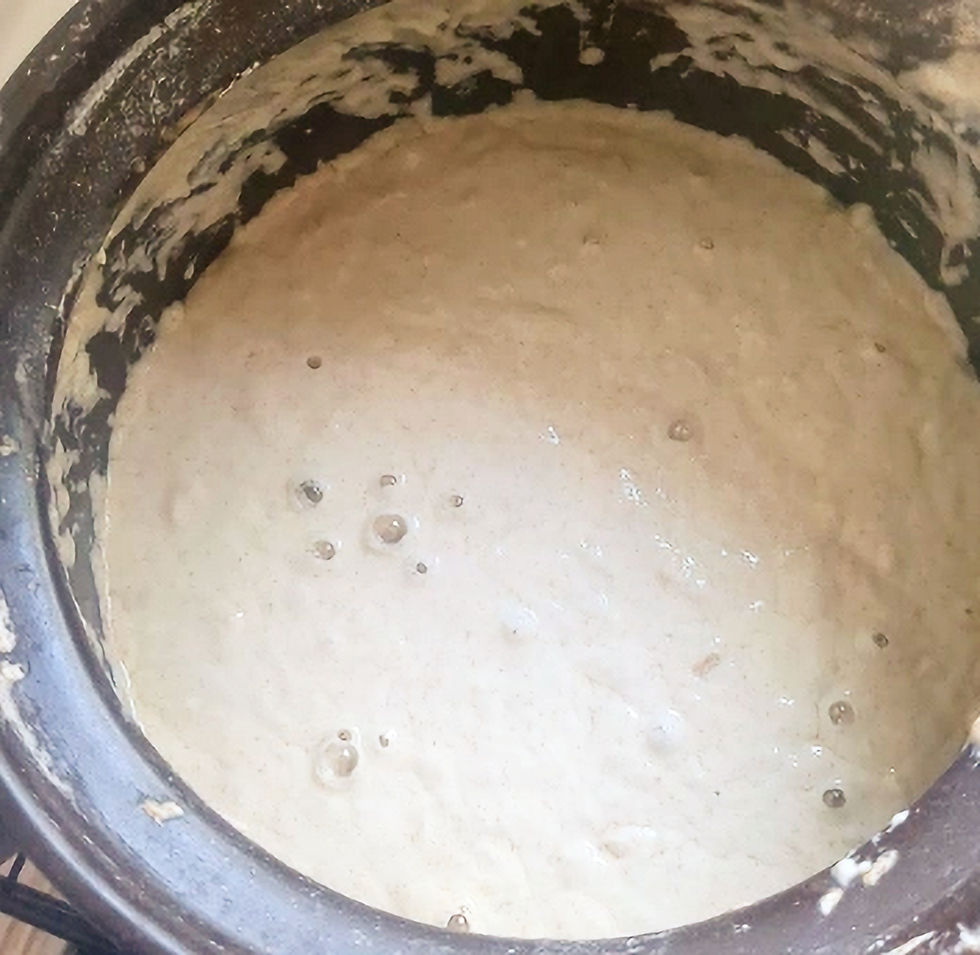
Finally, let the pot rest for 2 to 3 days or until bubbly. The bubbles are created by the buildup of carbon dioxide, caused by the yeast eating the proteins and compounds in the flour. Once done, move on to the next step.
2. Maintaining:
When the starter is bubbling, it's time to feed it. At the same time each day, mix the starter and remove a little before adding water and flour to fill it back up. Cap, and then rest. Roughly speaking, you want to save around 100 g of the starter. The rest can be thrown out or used for bread. With this 100g of starter, add 425g of water and 350g of your flour blend. You can adjust each of these values to be more favorable to you, but this is a good base from which you can modify.
First, add the water to the starter and mix. This makes it easier to combine with the flour and have room to grow. Next, add your flour. Mix it once again before topping it with the lid and placing it in the environment from the previous step.
Repeat at the same time every day. And look at that, you're now officially taking care of an organism you can harvest to make bread!
The Homunculus
Now, it's time for a heart-to-heart. I always pride myself on showing the ugly side of cooking. I believe that food doesn't have to look good to taste good. So, I find it better to show a realistic representation of what you should expect, rather than an idealistic version. Not only does it make it more appealing, in my opinion, to make, but it also breaks down the idea that cooking has to be perfect.
So. This article was supposed to be a starter and a sourdough recipe. While it still (mostly) is, I sadly don't have a piece of sourdough that I made with the starter. This is because I made a crucial mistake. I accidentally only used all-purpose flour, and not whole wheat flour, in the final step. This resulted in my dough being much looser and stickier. That's because it lacked the necessary gluten from the whole wheat, making the dough resemble something entirely different.
However, not all was lost. A lot of things in this world don't become lost causes just because you mess up once. You can always recover, including in breadmaking. I may have messed up, but I still can make other forms of bread. That is the true beauty of cooking; not everything is going to turn out the way you want. Not everything is going to be easy, but it's always recoverable, and not as hard as you thought.
Sure, it may not result in what you wanted at the beginning, but that's still better than just giving up. After all, if you give up, it will always be a failure. However, if you try, you can still make something good. That's why I like showing the ugly side—to show off the reason why I love cooking so much. Sure, it may not look as good in articles, but it makes those articles far less intimidating and truly representative of cooking as an art and science. It's not perfect; it's messy—just ask my parents—but it's truly fun, and you shouldn't give up!
If that sounded like a bunch of inspirational nonsense disguised as a story of me failing, that's because it is. I’ve always enjoyed cooking and teaching others how to do it. I don't know everything, and I'm definitely not the best, but I always try to keep it realistic. You may mess up on this recipe, but that's okay! It's not like it's going to spoil if you miss one feeding, forget to fold it, or get the ratios wrong. Just like in life, you can always recover and make changes on the fly. Try not to be hard on yourself or overthink things. It's much simpler than you think!
*Notes:
Water is significantly denser than flour, so it takes up less space while weighing the same. That's why the portions should be equal in terms of weight, like ounces or grams, and not volume.
Thumbnail Credit:


Comments